Newsome Family Farms: Year 1 Chicken Edition

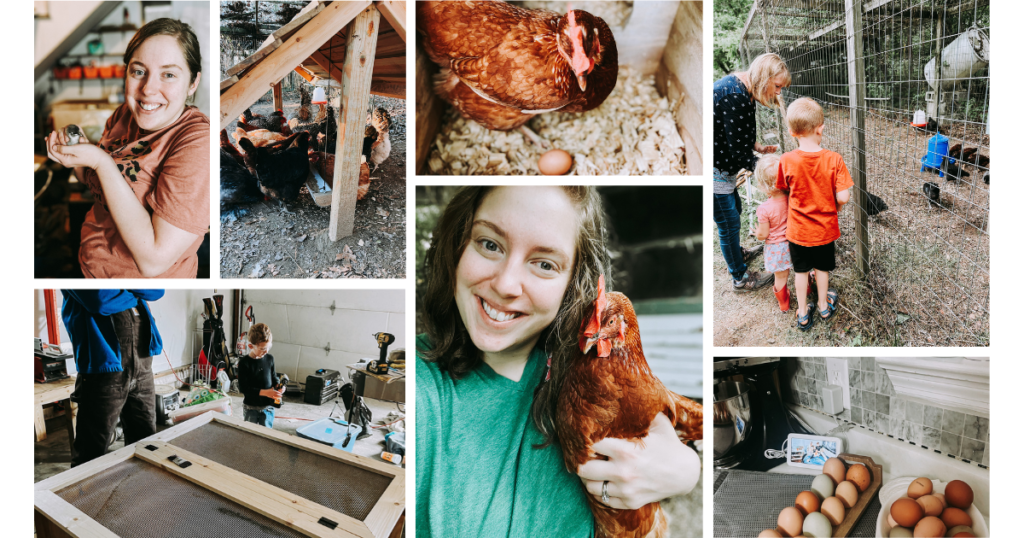
Last year was one for the books. After living on the mountain for about 5 months, we began working on preparing the property for our first year of homesteading/hobby farming. For those of you that don’t know, we moved back in 2020 to a house on the mountain with a small detached home for Joel’s mom. As a bonus blessing, we’ve been able to use her property-which is about two miles away- for our dream homestead.
Before we started anything, we sat down and created several SMART goals for our homestead (thank you, teaching degree!) Here are the goals we set at the beginning of 2022:
- Create and maintain a notebook documenting all costs for animal preparation, maintainence, and processing for the entire year of 2022. (We failed.)
- Raise 3 pigs from March to July to be slaughtered to feed our family- 2 pigs for our family + 1 to sell. (We succeeded!)
- Raise 30 meat birds from March to June. (We halfway succeeded.)
- Raise 5-10 egg laying birds. (Big success!)
I’ll write more about our goals in another post, but today I want to focus on the chickens, what we did, what we learned, and what we’ll do differently.

Our Experience
At the beginning of January, we purchased an order with Murray McMurray Hatchery for fifteen egg laying chickens. After a lot of research, we decided to get three of each- Rhode Island Red, Red Star, Barred Rock, Buff Orpington, Black Aurtralorp. We received a bonus chick which ended up being a gray cochin… a rooster. Bummer. Beautiful? Yes.. but such a bummer. (Side note: he will be relocating to our freezer next week due to aggression towards one of our hens.) We had such a wonderful experience with this hatchery. Our chicks arrived right on time (the first week of April) and we had zero casualties.
Before our chicks arrived, we prepped by building a fairly large brooder. Joel made it by notching out four pieces of plywood so they could enterlock. This allowed us to be able to take the brooder apart and store it flat fairly easily. We put it up on a large tarp with about 2 layers of large pine shavings. We rigged up a heat lamp, provided them with food and water, and raised them in the garage for the first 6 weeks. During this time, I found a lady in our area that hatched Olive Eggers, so I ordered 5 of those. To both of our surprise, all five of them hatched… leaving us with 21 chickens.
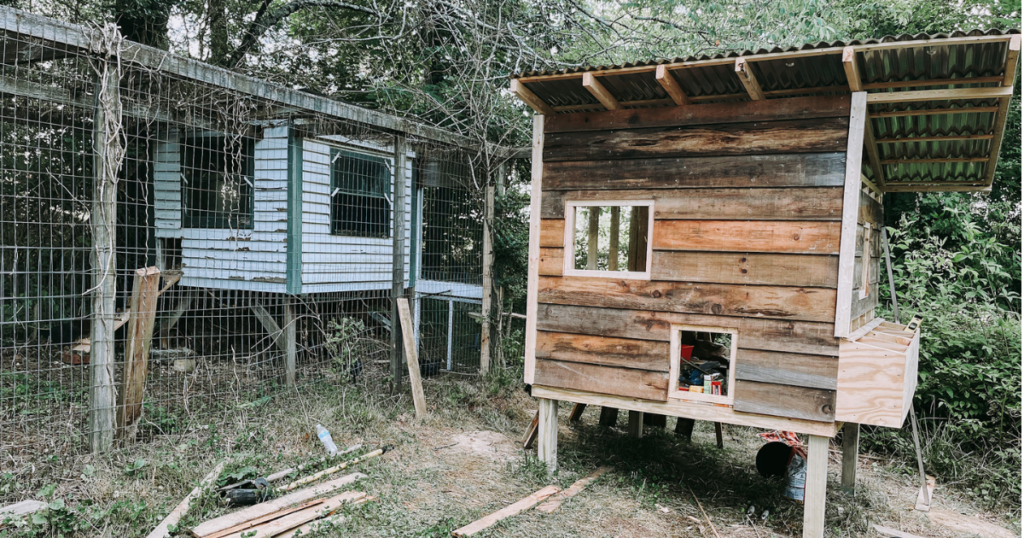
While the chickens were growing in the garage, we had work to do at the farm to prepare for them. Joel’s dad previously had 2 coops sharing one long run; however, during the tornados a few years ago, one of the coops was damaged and could no longer be used. We made necessary repairs to the salvageable coop and opened up the run to expand across the previous garden area. We more than tripled the size of the existing run in order to give our larger flock plenty of room to forage and explore. Joel and a family friend also built a new coop beside the existing one. This allowed the chickens to have plenty of room in the coops without them getting overcrowded.
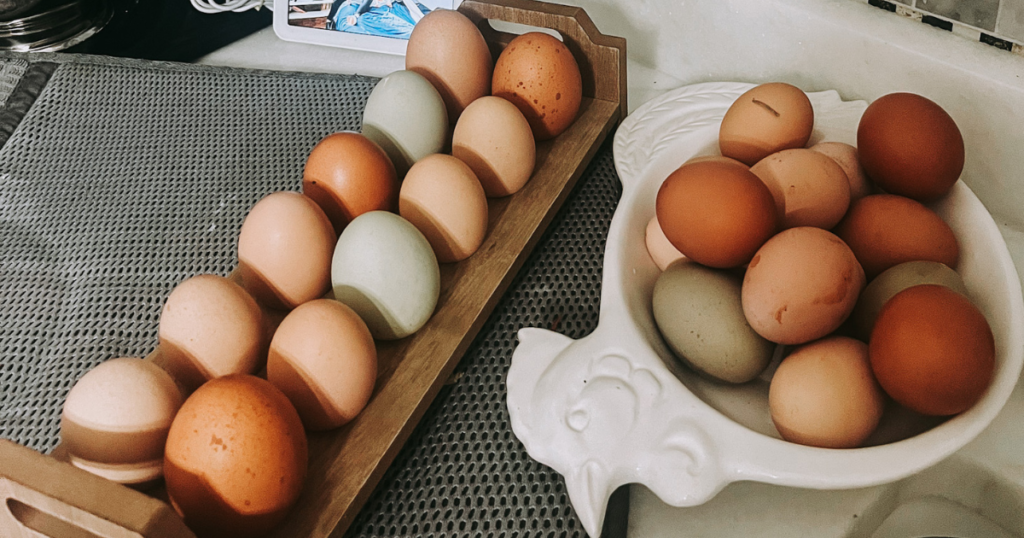
Once the 6 weeks were over, we moved half of the chickens over to the farm to live in the “old coop” while Joel finished up the new coop. About 2 weeks later, the remaining chickens moved over to the farm. After a few weeks, we lost 3 of our chickens to a predator, which made us aware of some “hot spots” to secure. There, they thrived and began laying towards the beginning of November. Since then, we’ve collecting about 10-12 eggs a day!
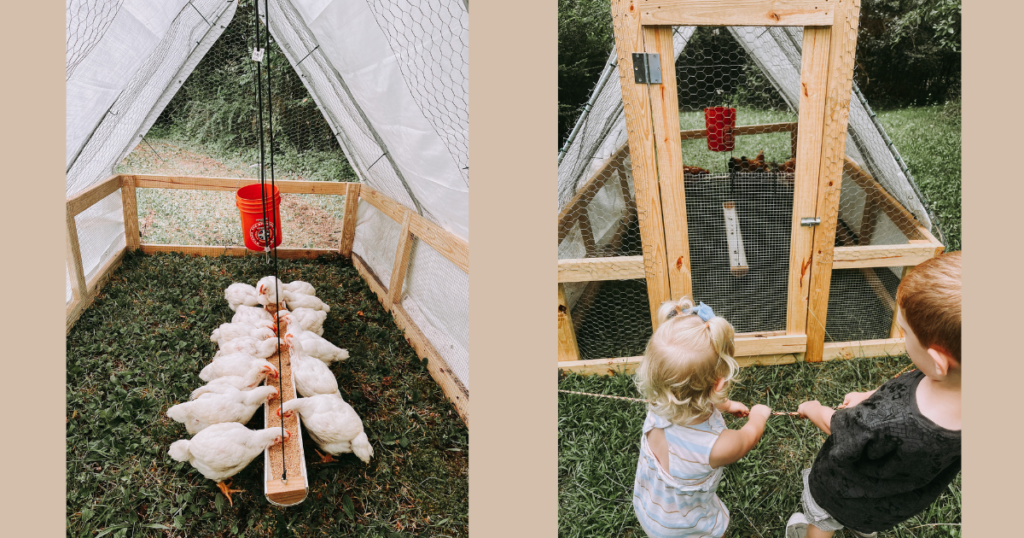
The week after the chickens moved to the farm, we received our shipment from Welp Hatchery of 30 Cornish Cross chickens. These are chickens bred specifically for meat (Cornish Hens + White Rock). These chickens grow big and quick! We received these chickens at the end of May. One of them was dead upon arrival and we lost 1-2 over the next week or so. We kept them in the same brooder and had the same “chick routine” as our egg laying chickens. At about 5 weeks, we noticed another dead chicken; however, he had an unusual appearance- he was stiff with white hazy eyes and blood all over his vent. Soon thereafter, we began losing a chicken every hour or so until our flock had reduced to half. We set up a “trauma unit” in the yard with 3 small pins to separate the flock. We administered Corid, sugar water, and electrolytes and managed to salvage half of the flock. Once the flock was healthy and stable, we moved them to the farm where they were kept in a mobile chicken tractor. Joel used John Suscovich’s plan to create this, and it worked phenomenally! For the next few weeks, until the last week of July, our meat birds were moved once a day to forage, fertilize, and grow. We butchered the chickens ourselves and were so proud to provide our family with 15 chickens!
What We Learned
One thing I think we’ve learned is that chickens are a great beginner farm animal, but they do require a lot of start up time and don’t necessarily save you money in the long run. Probably one of the biggest issues we experienced our first year of homesteading was getting animals before we were completely prepared. That might seem a little crazy to people who know us in person because we researched this life for YEARS (and yes, I mean years) before we took the plunge; however, the actual building of the homestead was another story.

Infrastructures
When we welcomed our chickens to the farm, we didn’t realize how unprepared we were. Our brooder wasn’t completely finished until the day our chicks arrived. This wasn’t super difficult to accomplish, but we had to hurry and finish before the baby chicks could be totally safe and secure for their first night. Once our chicks were ready to live in the coops full time, we realized the coops were not fully repaired (and one coop wasn’t even done being built) and ready for the birds. Again, we were rushing to finish infrastructures last minute. Unfortunately, this would be the theme of the first year on the farm. Although it was a constant struggle for us, it taught us a lot of really tough lessons about being prepared. It also helped us realize things don’t always have to be perfect- sometimes finished is better than perfect.

Time
Just like with everything on the homestead, a time commitment is a huge factor. Especially for the first six weeks of raising chicks. Our baby chicks needed to be checked on around the clock. We take a more hands off approach with our animals than most people- I didn’t check the temperature hourly. I didn’t wake up in the middle of the night to check the birds. I didn’t bring them inside.. although I tried once and got veto’d. Even with our more relaxed approach, chicks require a lot of time. For the brooder period, we had to feed and water our girls 2-3 times a day. Their bedding had to be cleaned super often. On top of that, their vents (butts) had to be cleaned (by hand… GAG) daily because of pasty butt. Once they moved to the farm, I expected less work, but this wasn’t the case. Now, with our 19 adult chickens at the farm, our work is about the same… if not more. Every morning, we drive our two miles to the farm and tend to our flock. They get fed daily. Their clam shells and grit have to be checked daily and filled when they’re low. Our 60 gallon waterer makes that chore easier, but it still has to be checked daily and repaired/maintained/filled frequently. We also collect eggs daily… that’s the fun part! About every 2-3 weeks, their coops get cleaned and bedding gets added. While I believe our flock is worth the time and effort, and raising chickens is super rewarding, it does require a lot of time and effort.

Money
Here’s where everyone’s situation differs. Depending on your flock size and your goals, chickens could end up not saving you much money at all. In our situation, we sell enough eggs to pay for our chickens’ feed, bedding, and upkeep; however, it does not cover the cost (as of yet) for the meat birds. I plan on doing a more in-depth breakdown of cost and such in a followup post about chickens, but for now I’ll keep it simple. We sell about 6 dozen eggs per week at $4/dozen. That leaves us with about $24 a week. Our chickens eat about five bags of feed per month which comes out to be $75/month. At the end of the month, we’re left with about $25 for bedding and a little extra to save or use for any repairs/maintained if needed.


GOD IS GOOD!
Very interesting but I am a city gal & I wouldn’t know where to start.
Good luck with all your “Homesteading”.
I LOVE YOU.